Introduction
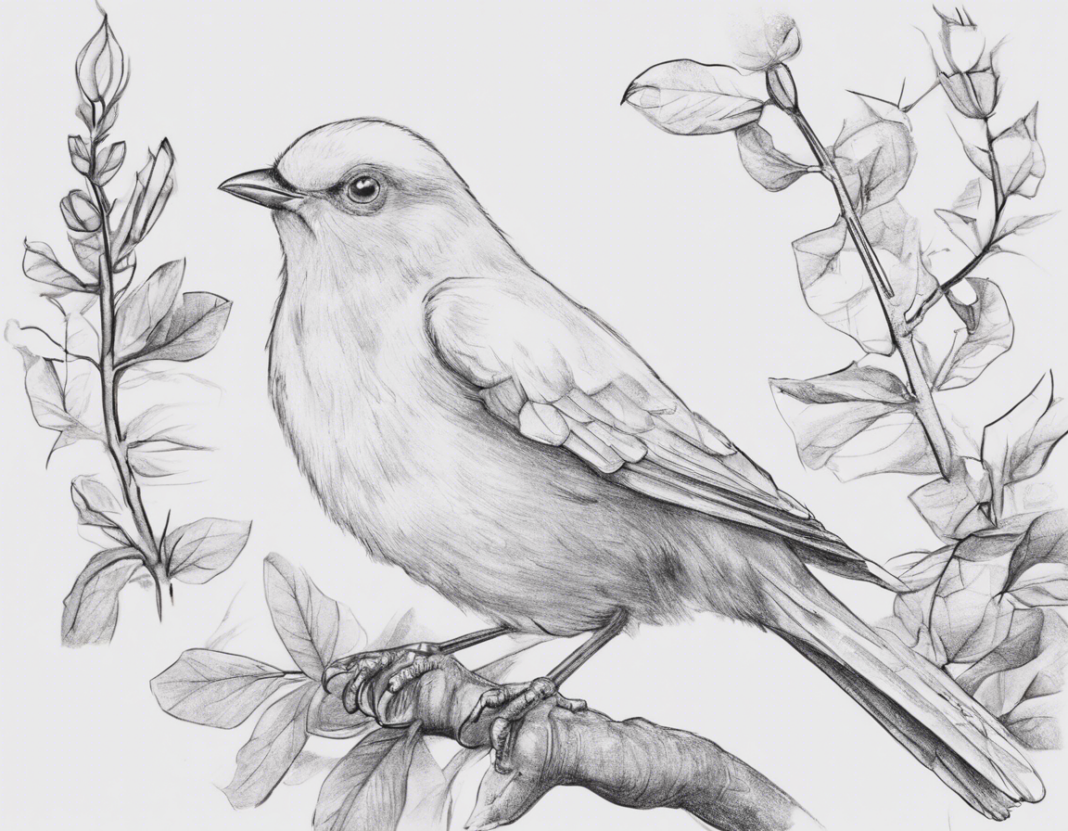
Drawing birds can be a fun and rewarding activity for beginners looking to explore their artistic skills. Birds come in a variety of shapes, sizes, and colors, making them an interesting subject to sketch. This comprehensive guide will provide you with step-by-step instructions on how to draw birds easily, even if you have limited experience in drawing. With practice and patience, you can create beautiful bird drawings that capture the essence of these fascinating creatures.
Getting Started
Before you begin drawing, it’s essential to gather the necessary materials. All you need are:
- Drawing paper: Opt for a smooth, white paper that is suitable for sketching.
- Pencils: A range of pencils from HB to 4B for sketching and shading.
- Eraser: A kneaded eraser is ideal for making corrections in your drawings.
- Reference images: Have pictures of birds handy to use as a visual aid while drawing.
Now that you have your materials ready, let’s dive into the steps of drawing a bird.
Step 1: Basic Shapes
Start by sketching the basic shapes that will form the bird’s body. Most birds can be broken down into simple shapes like circles, ovals, and triangles. For instance, a typical bird body can be represented by an oval, while the head can be a smaller circle attached to it. Don’t worry about getting the shapes perfect at this stage; focus on getting the general proportions right.
Step 2: Add Details
Once you have the basic shapes in place, start adding details to your bird. Outline the beak, eyes, wings, and tail using light, gentle strokes. Pay attention to the curves and angles of each body part. Look closely at your reference images to capture the unique features of the bird you are drawing.
Step 3: Refine Your Sketch
Refine your initial sketch by darkening the lines that you want to keep and erasing any unnecessary guidelines. Add more details like feathers, feet, and patterns on the bird’s body. Use a variety of pencil strokes to create texture and depth in your drawing.
Step 4: Shading
Shading is essential to give your bird drawing dimension and realism. Identify the light source in your drawing and shade the areas that would be in shadow. Use a lighter touch for lighter areas and increase pressure for darker shadows. Blend the shades smoothly to create a seamless transition between light and dark areas.
Step 5: Final Touches
Once you are satisfied with the shading and details of your bird drawing, make any final adjustments or additions. Add smaller details like beak texture or feather patterns to enhance the realism of your artwork. Take a step back and assess your drawing to see if any areas need further refining.
Tips for Beginners
- Practice regularly to improve your drawing skills.
- Start with simple bird species before moving on to more complex ones.
- Experiment with different pencil grades to achieve varying textures and tones.
- Study bird anatomy to understand how different body parts are structured.
- Don’t be afraid to make mistakes; they are a natural part of the learning process.
Frequently Asked Questions (FAQs)
- What are some essential techniques for drawing bird feathers?
-
To draw realistic feathers, start with light, wispy strokes to outline the shape of the feathers. Gradually build up layers of shading to give depth and texture to the feathers.
-
How can I achieve realistic bird eye drawings?
-
Pay close attention to the shape and size of the bird’s eye. Use a combination of light and dark shading to create a glossy or reflective look. Add small details like catchlights to make the eye appear more lifelike.
-
Should I use color pencils or stick to black and white for bird drawings?
-
Both color pencils and black and white pencils have their advantages. If you’re new to drawing, start with black and white to focus on shading and details. Once you feel more confident, you can experiment with color pencils to add vibrancy to your bird drawings.
-
How can I practice drawing birds in different poses?
-
Look for reference images of birds in various poses to study their anatomy and proportions. Practice sketching these poses to improve your understanding of bird movements and gestures.
-
What is the importance of negative space in bird drawing?
- Negative space refers to the area around the subject of your drawing. Paying attention to negative space helps in creating a well-balanced composition and capturing the overall shape of the bird accurately.
Drawing birds can be a fulfilling and enjoyable creative outlet for beginners. With patience, practice, and attention to detail, you can create stunning bird drawings that showcase your artistic talents. Remember to have fun and experiment with different techniques to develop your unique style in bird drawing.

